Watching TV on a projector involves connecting a video source to the projector and, ideally, an audio system for an immersive experience. Here’s a breakdown of common methods:
Connection Methods
The primary way to connect a TV source to a projector is via an HDMI cable. Most modern projectors and TV source devices support HDMI for high-definition video and audio.
- Direct HDMI Connection: This is the most common and straightforward method. Connect an HDMI cable from the HDMI output port of your TV source device to an HDMI input port on your projector.
- Wireless HDMI: Wireless HDMI transmitter and receiver kits can send video and audio signals without cables, useful for longer distances or cleaner setups.
- Casting/Screen Mirroring: Some projectors have built-in Wi-Fi and support screen mirroring protocols (e.g., Miracast, AirPlay) or have integrated smart platforms with casting capabilities (e.g., Chromecast built-in). You can cast content from compatible smartphones, tablets, or computers.
TV Source Devices
You'll need a device that provides the TV content. Common options include:
- Cable or Satellite Box: Connect the HDMI output of your cable/satellite receiver directly to the projector.
- Streaming Devices: Devices like Roku, Amazon Fire TV Stick, Apple TV, or Google Chromecast connect via HDMI and provide access to numerous streaming apps (Netflix, Hulu, YouTube TV, etc.).
- Smart Projectors: Some projectors come with a built-in operating system (e.g., Android TV) and apps, allowing you to stream TV content directly without an external device. Simply connect the projector to your Wi-Fi.
- Computers/Laptops: You can connect a computer to the projector via HDMI and watch TV through web browsers or dedicated apps from TV providers or streaming services.
- Blu-ray/DVD Players: For physical media, connect the player via HDMI.
- Game Consoles: Consoles like PlayStation or Xbox also have HDMI outputs and often include streaming apps.
Audio Setup
While most projectors have built-in speakers, their quality is often basic. For a better TV viewing experience:
- Projector Audio Output: Many projectors have an audio output port (e.g., 3.5mm jack or optical audio out) to connect to external speakers, a soundbar, or an AV receiver.
- Source Device Audio Output: Alternatively, if your TV source device (like a streaming box or Blu-ray player) has its own audio output, you can connect your sound system directly to it. This is often preferred for higher quality audio passthrough (e.g., Dolby Atmos).
- Bluetooth: Some projectors support Bluetooth audio output to connect to wireless speakers or headphones.
Key Steps Summary
- Position the Projector: Place it at the correct distance from your screen or wall for the desired image size.
- Connect Video Source: Use an HDMI cable (or wireless method) to connect your chosen TV source device to the projector's input.
- Connect Audio (Recommended): Connect an external sound system to either the projector or the source device for better sound.
- Power On: Turn on the projector, source device, and audio system.
- Select Input: Use the projector's remote or buttons to select the correct HDMI input source.
- Adjust Settings: Focus the image, adjust keystone correction if needed, and fine-tune picture settings for optimal viewing.
- Control Content: Use the remote for your TV source device to navigate channels, apps, and play content.
Important Considerations:
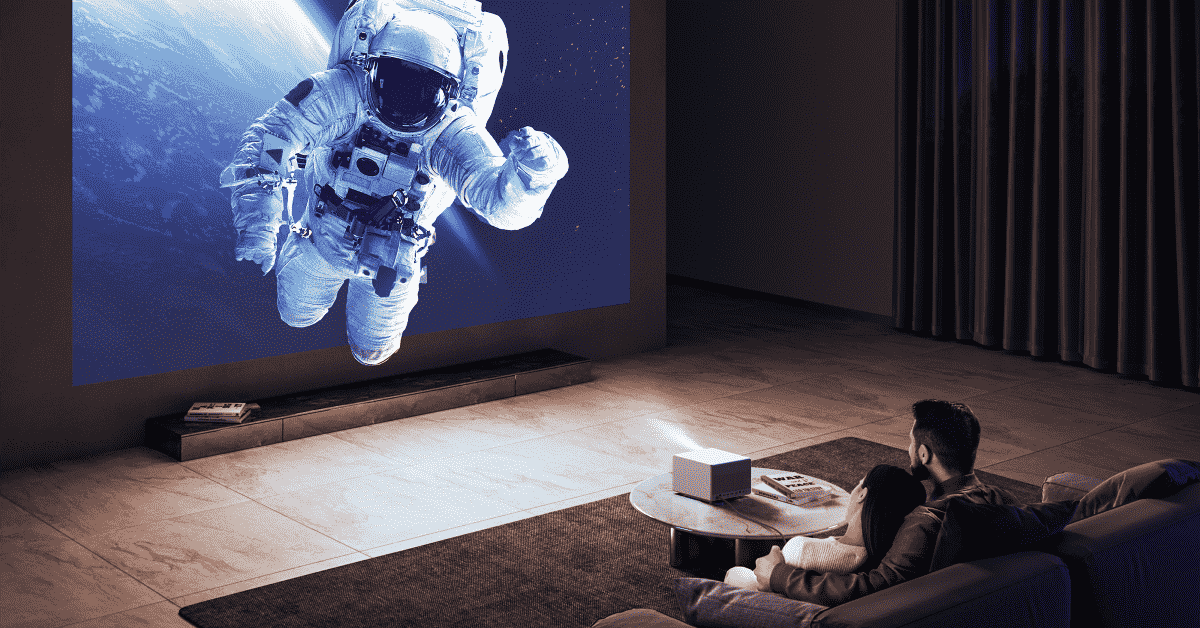
- Screen: A dedicated projector screen will provide the best image quality, but a smooth, light-colored wall can also work.
- Ambient Light: Projectors perform best in dark or dimly lit rooms. Control ambient light for optimal contrast and brightness.
- Resolution: Ensure your projector and source device support compatible resolutions (e.g., 1080p, 4K) for the best picture quality.