Update System Packages
First, ensure your system's package list and installed packages are up-to-date.
sudo apt update
sudo apt upgrade -y
Install a Desktop Environment
A VNC server needs a desktop environment to display. XFCE is a lightweight and recommended option.
sudo apt install xfce4 xfce4-goodies -y
Install TigerVNC Server
We will install TigerVNC, a high-performance VNC server.
sudo apt install tigervnc-standalone-server tigervnc-common -y
Initial VNC Server Setup
Run vncserver once to create initial configuration files and set a VNC access password. This password is for connecting to the VNC session, not the system user password.
vncserver
You will be prompted to set a password. Enter a password between 6 and 8 characters. You will also be asked if you want to set a view-only password; this is optional.
Once the password is set, an initial VNC session will start (e.g., on display :1). We need to stop it to configure it properly.
vncserver -kill :1
Note: If :1 was already in use, your session might be on :2 or higher. Check the output of the initial vncserver command.
Configure VNC to Use XFCE
Edit the VNC startup script to launch XFCE when a VNC session starts.
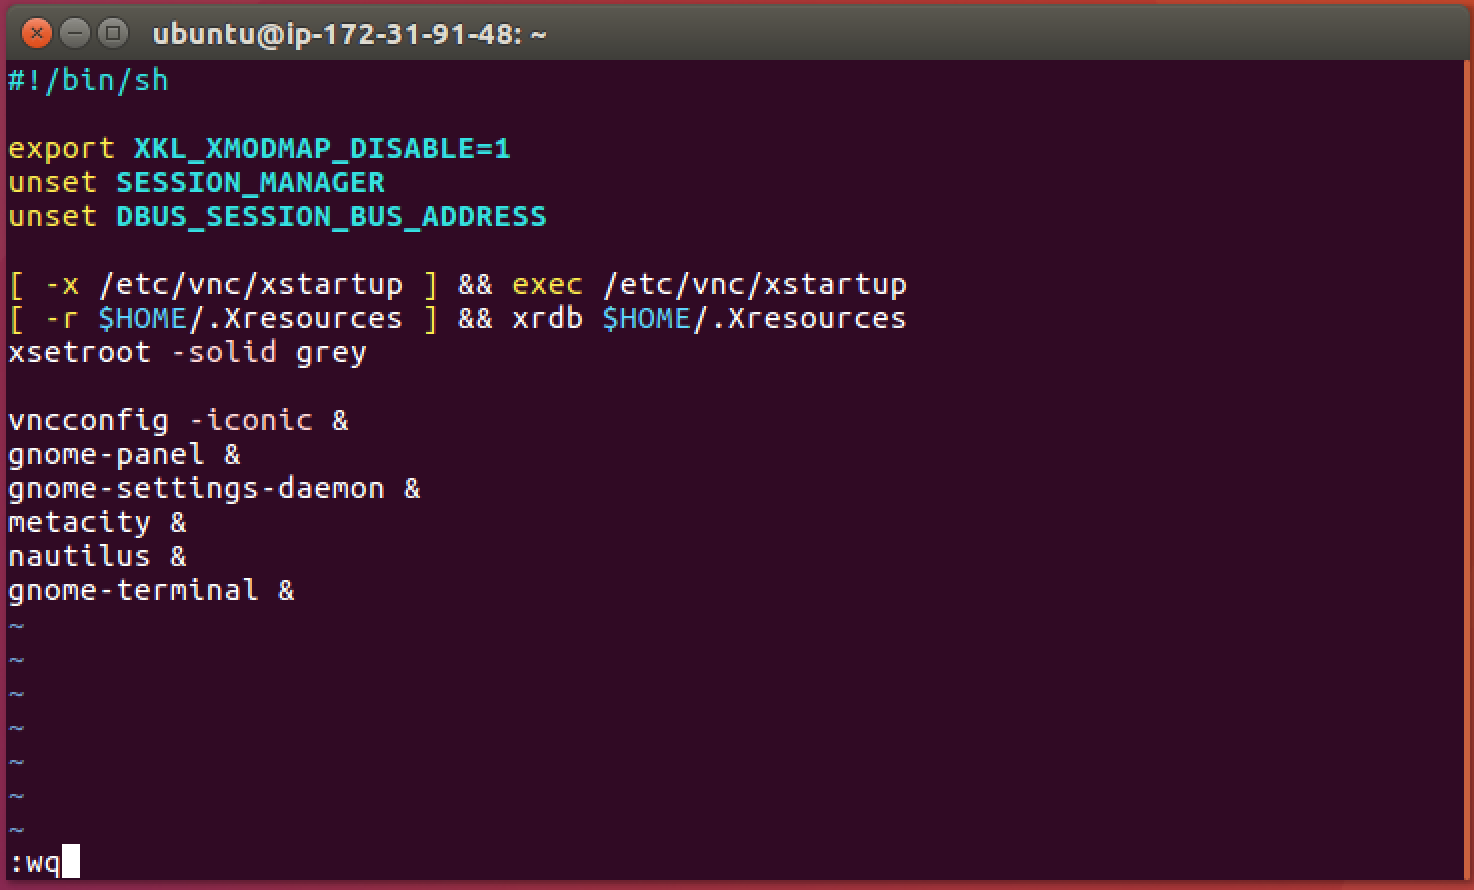
nano ~/.vnc/xstartup
Make the file content exactly as follows, commenting out or removing any existing lines:
#!/bin/bash
xrdb $HOME/.Xresources

startxfce4 &
Save the file and exit the editor (Ctrl+X, then Y, then Enter in nano).
Make the xstartup script executable:
chmod +x ~/.vnc/xstartup
Start the VNC Server Manually
You can now start the VNC server. For display :1, it will listen on port 5901.
vncserver :1 -localhost no -geometry 1920x1080 -depth 24
:1specifies the display number. Port will be 5900 + display number (e.g., 5901).-localhost noallows connections from remote machines. If you prefer to use SSH tunneling for security, you can omit this or set it toyes(default).-geometry 1920x1080sets the virtual desktop resolution. Adjust as needed.-depth 24sets the color depth.
Firewall Configuration
If you are using UFW (Uncomplicated Firewall), allow traffic to the VNC port (e.g., 5901 for display :1).
sudo ufw allow 5901/tcp
sudo ufw reload
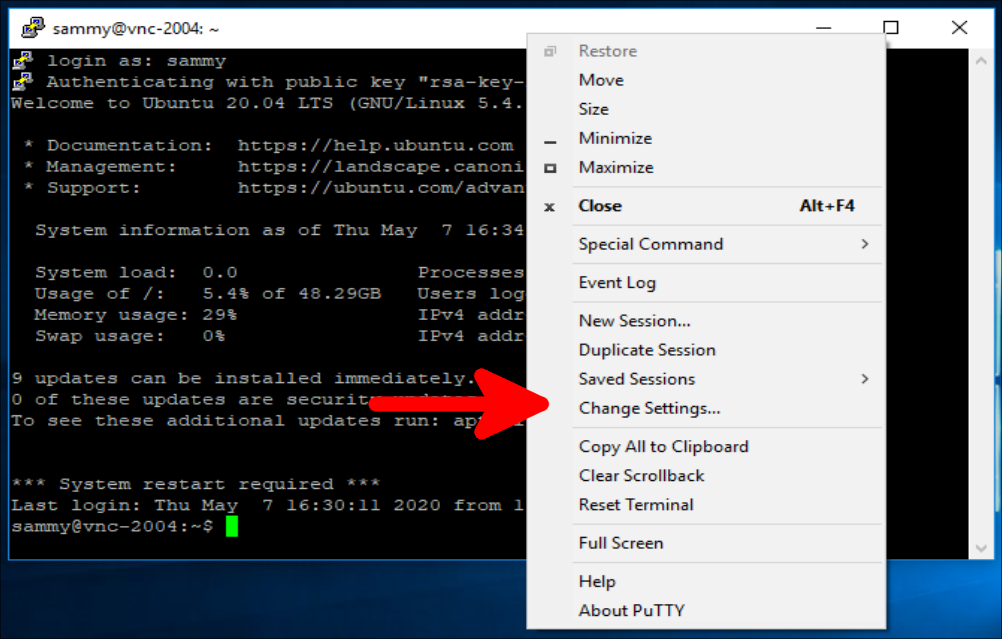
Connecting with a VNC Client
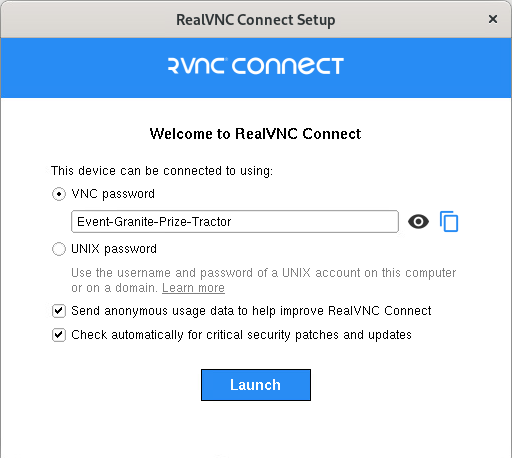
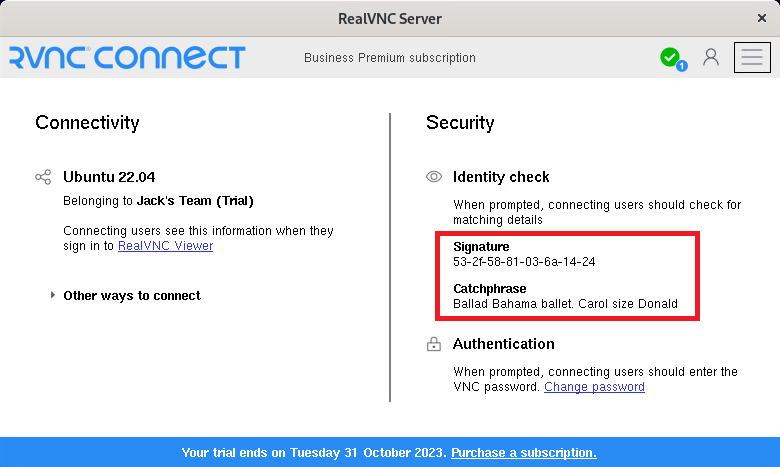
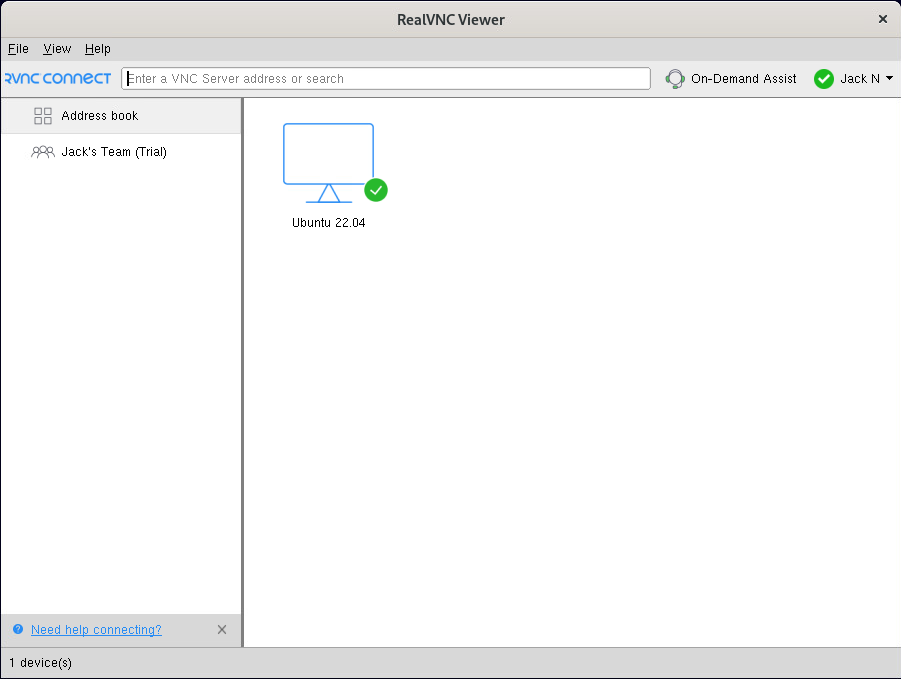
Use any VNC client software on your local computer (e.g., TigerVNC Viewer, RealVNC Viewer, Remmina) to connect to your_server_ip:1 or your_server_ip:5901. You will be prompted for the VNC password you set earlier.

Optional: Create a Systemd Service for VNC
To manage the VNC server as a system service (e.g., start on boot), create a systemd unit file. Replace <USER> with your actual username.
sudo nano /etc/systemd/system/vncserver@.service
Paste the following configuration. Crucially, replace <USER> with your username in all instances.
[Unit]
Description=TigerVNC per-user session for %i
After=* *
[Service]
Type=forking
User=<USER>
Group=<USER>
WorkingDirectory=/home/<USER>
# Clean up old VNC locks
ExecStartPre=-/usr/bin/vncserver -kill :%i > /dev/null 2>&1
ExecStart=/usr/bin/vncserver :%i -localhost no -geometry 1920x1080 -depth 24 -fg
PIDFile=/home/<USER>/.vnc/%H:%*
ExecStop=/usr/bin/vncserver -kill :%i
[Install]
WantedBy=*
Save and close the file.
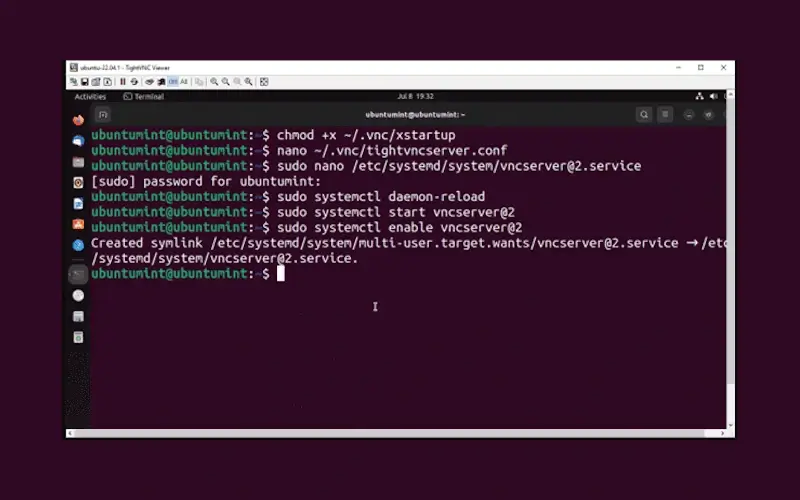
Reload the systemd daemon:

sudo systemctl daemon-reload
Enable the service to start on boot for a specific display (e.g., display 1):
sudo systemctl enable vncserver@*
Start the service:
sudo systemctl start vncserver@*
Check the status:
sudo systemctl status vncserver@*